
Why Knowing Your Anatomy Boosts Your Lifts
You won’t get the most out of your training if you treat your body like a black box. Understanding how muscles, joints, and nerves work gives a practical edge: safer technique, smarter exercise choices, and faster progress.
This guide breaks anatomy into pieces. First, you’ll learn the foundations — the key muscle groups that drive strength. Next, joint mechanics and movement patterns show how structure shapes technique. Then neural control explains how to recruit more muscle. You’ll get program design tips that align with your anatomy. Finally, injury prevention, mobility, and recovery keep you lifting.
By the end you’ll be better at diagnosing weaknesses and prioritizing the work that improves your numbers.


Foundations: The Key Muscle Groups That Drive Strength
Know the movers vs. stabilizers
Start by mapping which muscles generate force and which ones hold you together under load. Movers produce the big push and pull; stabilizers keep joints safe and bar paths consistent.
How each group shows up in your big lifts
Quick roles to feel during a rep — check these while lifting or during light test sets.
Common compensations and what they reveal
Spot these red flags and you can diagnose limiting muscles.
Simple drills and tests you can do now
Use quick checks to find your weak link — no lab required.
Products that help: a Rogue Ohio Bar for general lifting, a trap bar (e.g., Rogue TB-2) for safer deadlift practice, 12–24 kg kettlebells for hinge drills, and Rogue Monster Bands for activation work.
Prioritize with purpose
Once you can name which muscle “fails” first, program targeted sets: short activation circuits, heavy compound sets, and accessory isolation for 1–3 weeks. That focused work shifts weak links into contributors so your next PR feels more earned than lucky.
Next up: you’ll learn how joint mechanics and movement patterns shape your technique—so you can translate these muscle checks into cleaner, more powerful lifts.
Joint Mechanics and Movement Patterns: How Anatomy Shapes Technique
How joint geometry changes force
Strength travels through joints, so small shifts in angles and lever lengths change how much force you can produce. Moment arms are the perpendicular distance from a joint center to the line of force — longer moment arms demand more muscle torque. Practically, that means a deep squat or a long femur will increase hip moment arms and change where you feel the work. If you’ve ever watched two lifters of the same body weight squat differently, limb length is why.
Hip hinge: leverage, not just back strength
The hip hinge is about hip, not low-back, motion. To get powerful hip extension:
Squat depth and stance: match your skeleton
Squat depth and stance should reflect hip socket depth, femur length, and ankle dorsiflexion.
Ankle, knee, and the transfer of force
Ankle dorsiflexion affects how much your knees can travel and how much your hips must work. Improve ankle mobility with banded ankle distractions or weighted dorsiflexion holds. For knees, prioritize tracking over toes and controlled valgus prevention — weak hip abductors will reveal themselves as knees collapse.
Shoulder, spine, and pressing lines
Vertical versus horizontal pressing depends on shoulder girdle and torso angle.
Use these mechanical tweaks as practical experiments on lighter sets: small changes in stance, bar position, or ankle setup often yield cleaner, stronger reps. Next, you’ll learn how your nervous system controls these mechanics to fire muscles more efficiently.
Neural Control and Muscle Activation: Get More from Every Rep
Your skeleton and joints set the stage, but your nervous system runs the show. Strength isn’t just bigger muscles — it’s how well you recruit and coordinate muscle fibers on demand. Here’s a plain-language breakdown and practical ways to crank up your neural drive so every rep counts.
Motor units and rate coding — the basics
Motor units are a motor neuron plus the muscle fibers it controls. You recruit small motor units first, then larger ones as load increases. Rate coding is the firing rate of those neurons — faster firing = more force. In simple terms: heavier or sharper efforts get more fibers firing and firing faster.
Training tools to increase neural drive
Use these methods to teach your nervous system to deliver force, not just grow tissue.
EMG-informed ideas without a lab
You don’t need electrodes to act like one. Use these practical EMG-style tests:
Integrate unilateral and core work
Unilateral lifts (split squats, single-arm presses) expose imbalances and force stabilizers to fire. Strong core anti-rotation and bracing (anti-extension holds, Pallof press) improve force transfer so your prime movers can express their strength more effectively.
These neural strategies are compact and easy to add to a session — next you’ll learn how to turn them into anatomy-informed programs that actually improve your lifts.
Designing Anatomy-Informed Programs That Improve Your Lifts
You’ve learned which muscles and neural strategies matter — now turn that knowledge into a plan. Below are clear steps to build training cycles that fill anatomical gaps, prioritize recovery, and drive measurable progress.
Pick primaries and accessories by gap
Start with the lift you want to improve (squat, bench, deadlift). Ask: where does the lift fail — bottom, midpoint, lockout? Match the weak link to an anatomical fix.
Choose 1–2 primary variations and 2–3 accessories per session, keeping accessories targeted (not a “kitchen-sink” approach).
Rep ranges, weekly volume, and intensity
Use simple, evidence-informed ranges:
Weekly volume guideline per muscle group: 10–20 sets for smaller muscles (triceps, calves), 12–25 sets for major movers (quads, hamstrings, chest). Adjust up when you’re fresh, down during peak weeks.
Sequence for recovery and progress
Order sessions to protect recovery: heavy, technical, then volume. Example microcycle:
Templates and progression
Sample bench week (simple):
Progress accessories by load, then reps, then exercise difficulty (e.g., DB triceps → weighted dips).
Test, track, adjust
Log sets, RPE, and videos. Test a movement-specific PR (paused 3RM for bench, paused 5RM for squat) every 6–10 weeks. If accessory volume improves strength but not the lift, swap variations or shift emphasis to position-specific isometrics.
Record what your body tells you: soreness pattern, joint behavior, and movement quality — then tweak volume, frequency, or exercise selection accordingly.
Next you’ll apply these programming principles to protect gains and speed recovery in the recovery-focused section.
Injury Prevention, Mobility, and Recovery: Keep Your Anatomy Working for You
Common imbalances and how they arise
If you squat heavy but your knees collapse, or your bench press stalls with shoulder pain, it’s rarely bad luck—it’s anatomy meeting movement fault. Typical patterns:
Targeted warm-ups and prehab
A brief, purposeful warm-up beats random jogging. Try this 8–12 minute sequence before heavy work:

Finish with 2–3 ramp sets of the lift at 50–70% while focusing on position and breathing. Small, specific prep reduces tissue strain and improves motor control immediately.
Corrective strength drills (simple, effective)
Add these 2–3x/week as short accessory circuits (3 sets each):
Progress by increasing load, range, or time-under-tension—not necessarily reps. For example, move from bodyweight clams to banded monster walks to banded lateral walks with a kettlebell.
Recovery strategies: load, sleep, nutrition, conditioning
When to regress, push, or consult
Regress if you can’t hold neutral spine or technique breaks consistently. Push when you can maintain form across multiple sessions and recovery indicators look good (sleep, appetite, mood). Seek a physio or sports medicine doc if you have sharp joint pain, numbness/tingling, swelling, or pain that persists beyond two weeks despite sensible modifications.
With durable tissue, consistent mobility, and smart recovery habits, you’ll protect your progress—and be ready to pull everything together in the final section.
Bring It Together: Use Anatomy to Train Smarter
Understanding your anatomy gives you a roadmap for smarter, safer progress. Use this short checklist to turn knowledge into action: identify the muscles limiting your lifts, prioritize technique adjustments that suit your joint structure, select accessory movements that target those weaknesses, and schedule mobility plus recovery to keep tissues resilient. Test changes progressively and track what improves.
When you train with anatomy in mind you reduce injury risk and accelerate steady gains. Start small — one tactical change per cycle — and refine based on results. Your lifts will thank you when you build strength with intention rather than guesswork. Make today’s session one rep better — and steady.


Great synthesis of anatomy + programming. A few practical tips I used after reading:
– Pair a short band activation warm-up (5–8 min) with one heavy compound and one unilateral accessory per session.
– Use the laminated charts for quick form cues mid-session (tape them near your mirror).
– Foam roll 5–10 min post-workout for mobility and recovery.
If anyone wants sample weekly splits based on the article, I can paste mine.
Sure — I’ll post it here later today. It’s simple and band-friendly.
I’d love to see the weekly split, especially how you balance neural speed work with hypertrophy.
Thanks Mia — these are the kinds of practical takeaways we hoped readers would try. If you share your split, we’ll feature a reader example in an upcoming update.
Please share! I’m still a beginner and that structure would help a lot.
So basically I can stare at a laminated anatomy chart and magically add 20 lbs to my bench? 🤔
Kidding — but the Joint Mechanics section actually changed how I cue my elbow path. Weird how tiny tweaks matter.
We love the sarcasm 😂 — but yes, small technical changes can yield big strength gains. The laminated charts are great for quick reference during sessions.
LOL — not magic but close. The charts help you visualize which muscles you should feel. Try pausing at 2″ off your chest on bench and think lat/bracing.
Same. Visualizing the muscle actually made the cueing less awkward. Good article.
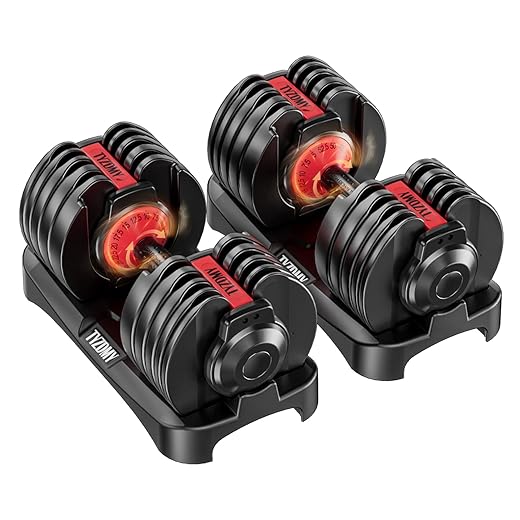
I used the Adjustable 52.5 lb Pair Dumbbells for slow negatives while focusing on elbow control — worked well for me.
Long read but worth it.
I’ve been rehabbing a shoulder impingement and the “Injury Prevention, Mobility, and Recovery” section had some drills that actually helped.
Bought the Amazon Basics High-Density Foam Roller they mentioned and it’s been a game-changer for thoracic mobility.
I do mobility + band activation before every pressing session now.
Thanks for making the rehab-to-performance link clear!
Really happy to hear that helped, Hannah. Thoracic mobility often gets overlooked — glad the foam roller worked for you. If you want, share which specific drills helped and we can highlight them.
What drills did you use? I’m dealing with a cranky shoulder too and would love specifics.
Loved the neural activation cues, especially the bit about ‘thinking big’ to recruit more motor units. 🤯
Question: any simple tempo templates to work on rate coding (like daily sets x reps x tempo)? I want something I can add to my current 3-day split.
Yes — try 3 sets of 3–5 explosive reps at a slightly reduced weight focusing on intent (1s up as fast as possible, 2–3s down), twice per week. Also include 2 sessions of heavier 4–6 rep sets at controlled tempo to drive rate coding.
I do: Day A – heavy triples (2-3s ecc, powerful concentric), Day B – speed work (light 50–60% with max intent). Works well.
I added one speed day after my coach said I could, and it helped my bar speed. Start light!
Good catch, Priya — keep novice lifters on the book’s progression and introduce speed work only once technique is sound (usually after a few months).
Is that safe for beginners? I might stick to the book’s progression first.
Don’t forget to warm up those neural pathways with band-assisted jumps or medicine ball throws.
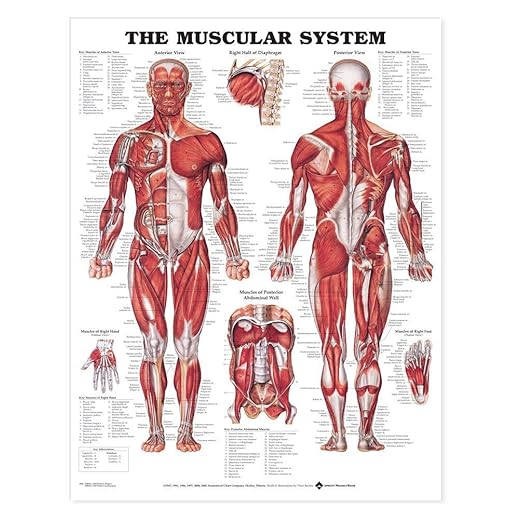
This article convinced me to finally buy a wall chart — the Giant Muscular System Wall Chart looks perfect for my garage gym.
I like the way the “Foundations” and “Neural Control” sections tie together — made me rethink why my deadlift stalls at lockout.
Also planning to add the Amazon Basics foam roller to my recovery kit.
Small nit: would love a printable quick-reference of prime movers for each lift.
Overall, super useful and actionable!
I got the wall chart last month — huge help. Taping notes on it made my form cues stick 😂
Thanks Emily — glad it helped! A printable cheat-sheet is a good idea, we’ll consider adding one. For lockout issues, check posterior chain activation drills in the ‘Neural Control’ section.
If you pair the chart with a foam roller routine it really speeds up recovery. I do a 10-min roll after heavy days.
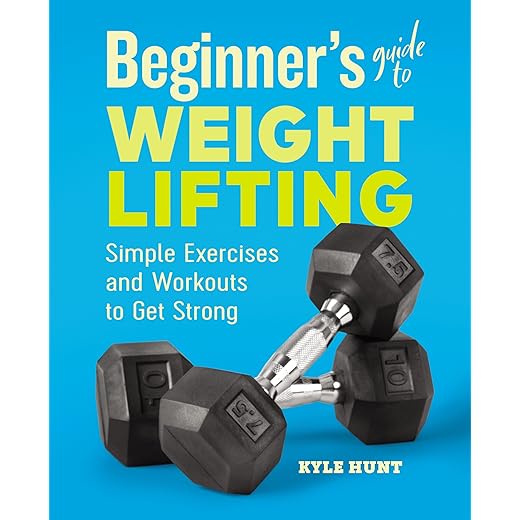
Bought the Beginner’s Guide to Weight Lifting after reading this. The program templates in the article paired nicely with the book’s week-by-week progression. Feels less intimidating now!
That’s awesome, Olivia — the idea was to bridge theory with simple programs. Let us know how the progression works for you after a few weeks.
Recovering athlete here — the injury prevention section was solid, but I’d love more mobility sequences for daily use.
Does anyone have a simple 10-15 minute routine (bands + foam roller) that’s sustainable?
I do a 12-min version of that every morning and it keeps my shoulders happier. Consistency > duration.
Yes — try: 3 min foam roll upper back + lats, 6 min banded hip/banded T-spine rotations, 6 min dynamic mobility (leg swings, world’s greatest stretch). Repeat those 2–3x per week and before training.